NOTE* - Be sure to set up your Account, and create/import at least one List and one Template before creating your first Campaign.
CAMPAIGNS > ALL CAMPAIGNS
Click on the left menu, Campaigns > All Campaigns and you can either create or modify a campaign (if it was not yet sent) or you can manage Groups.

Click on the 'Create new' button to begin creating a new campaign. There are two required fields, you must type in a campaign name and then in the drop down list, choose which list you want to send the campaign to.
There are four stages to creating a campaign:
- Details
- Setup
- Template
- Confirmation

Your new campaign can now be seen on the All campaigns page.
- Click on the "Campaign name" to view or edit the campaign setup
- Click on the "Pencil icon" to the right to update your campaign
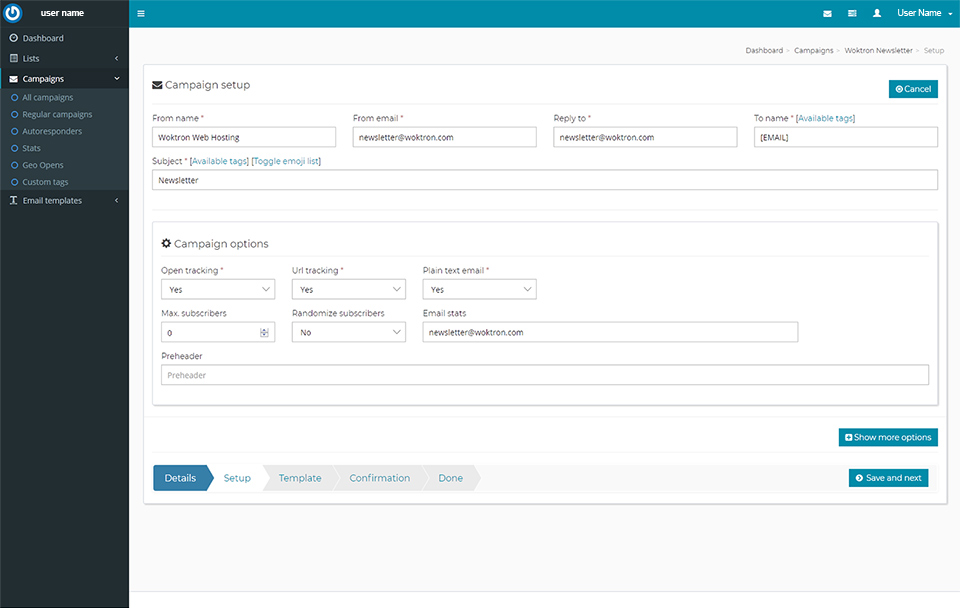
Note the Campaign 'Steps menu' and the 'Save and next' buttons as you continue.

The Campaign set up options for tracking and receiving stats. Click on each header title for information on each setting.

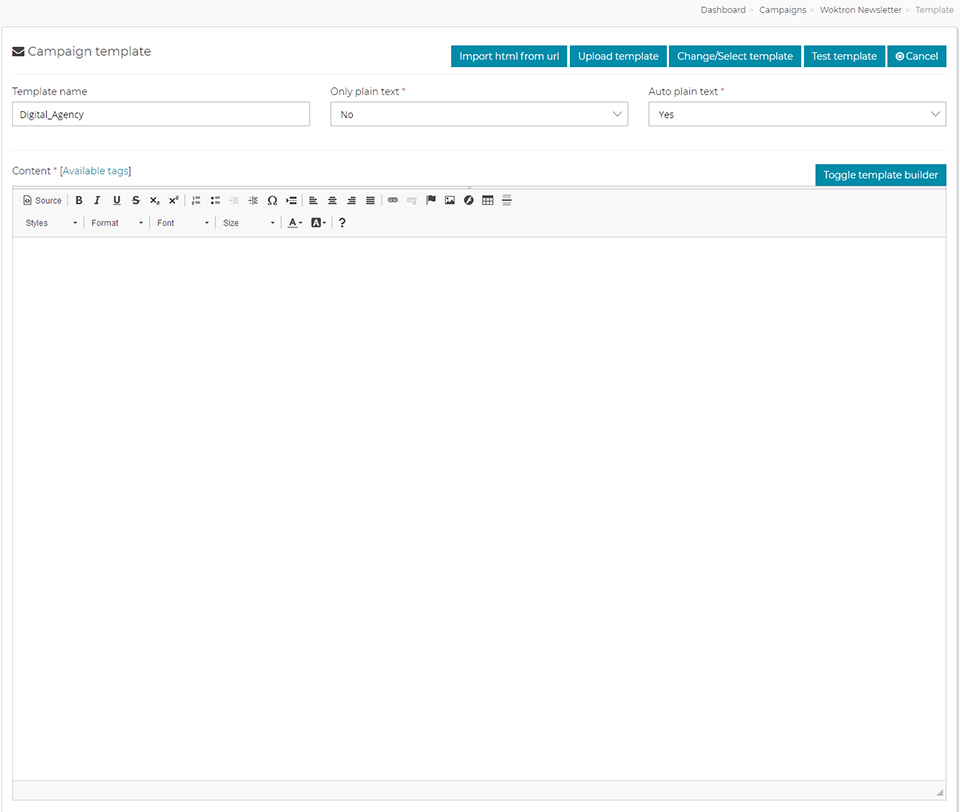
Clicking next will take you to the template area.
On this page you can:
- Create a template from scratch
- Import HTML from URL
- Upload a template - our application is compatible with all standard mail templates. The only caveat being that the correct tags for subscription will have to be inserted. The available tags can be viewed by clicking on the "Available Tags" link in the editor
- Change/Select template - any template will appear that you have in your templates page. If more than one, you can choose the template you want for this campaign.
- Test template

The template creation page uses the CKeditor which is a WYSIWYG, a visual template builder. You are encouraged to educate yourself on this editor in the Template area and on their website.
Without going into detail, moving your cursor over each button will give you an information box of what it does.
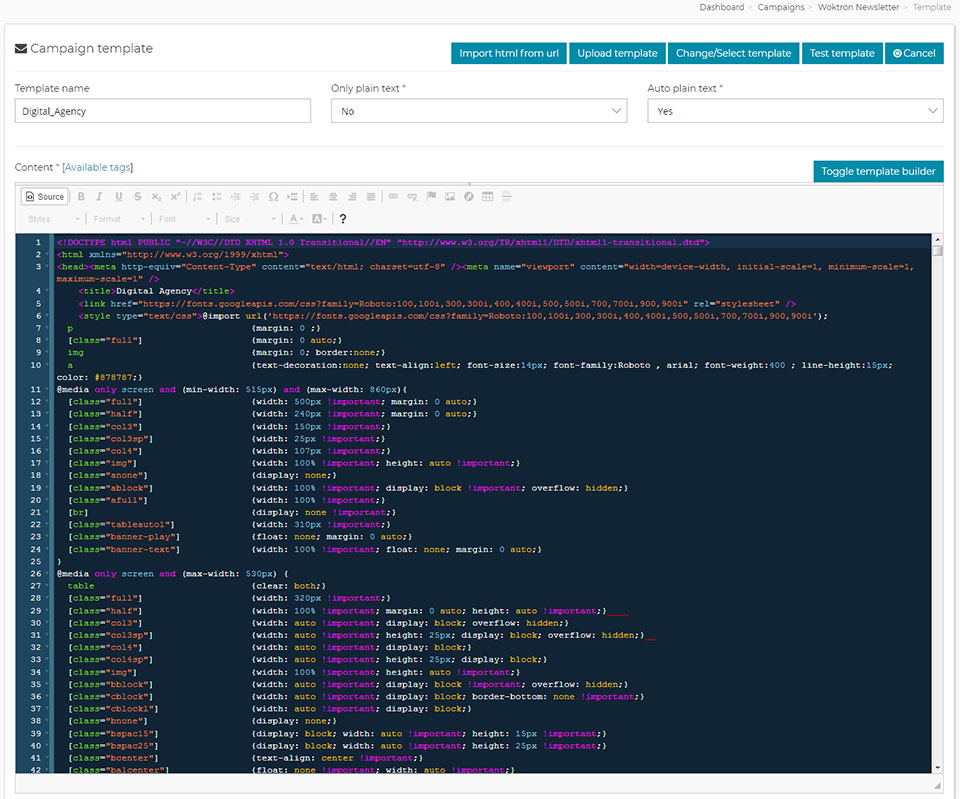
If you are familiar with html coding, you may click on the ‘Source’ button to view/modify/paste code as seen below:

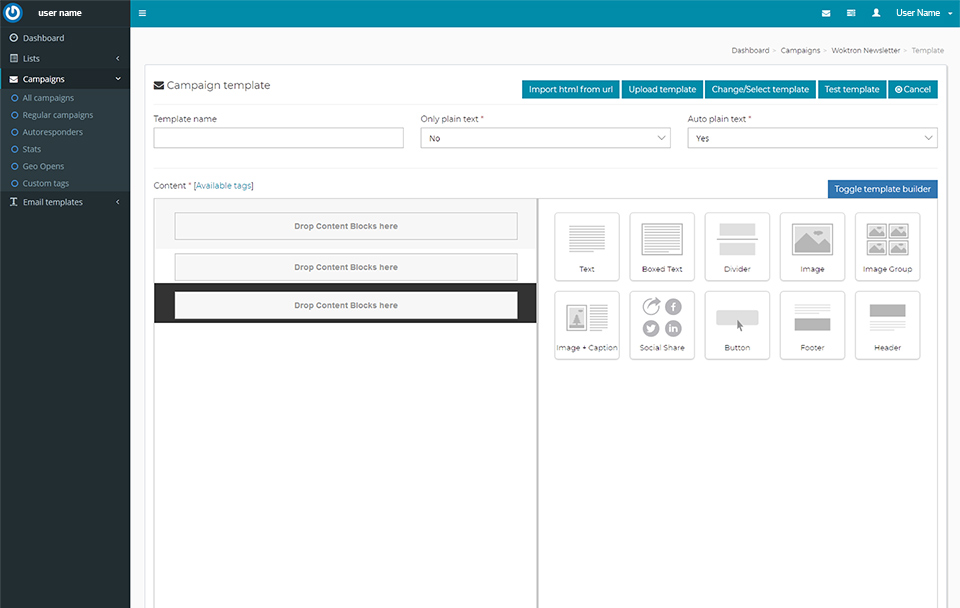
A basic template builder is also included:

Manage Groups
Campaign Groups are a way to categorize your Campaigns. As an example, if you eventually have 40-50 or more campaigns of both Estates and Yachts, you could create Estate and Yacht groups and simply categorize each of your campaigns within these groups for an easier search feature instead of having to search through all campaigns.
To get more in-depth, if you begin building for example, a 15-series autoresponder (see our introductory article), you can create an AR15 group. You can create innumerable types of Groups to filter and create views of your campaigns.
A group can be created by clicking on the Manage Groups > Create new button. You can simply type in your desired group name and click 'Save changes'. Repeat the process for each group you would like to create.

At this point, whether you create a new campaign or edit / update an existing one, you can assign the campaign to one of the groups created. Simply choose from the Group dropdown box that group you would like to categorize that campaign with.
If you click on 'Campaigns' to see 'Your Campaigns' list, you will now be able to 'filter' the view of your campaigns.


