LISTS > LISTS MENU
By clicking on the List link you can view current lists or create a new list of subscribers. If there are a large number of lists, the text and drop down boxes will allow you to search for specific lists you have.
Create List
For any new list you are creating, you must create the list name before being able to add or upload any contacts (lists) you may have to import. At this stage, you are only concerned about creating the list name and the list criteria, not adding or importing names.
The create window requires you to input pertinent data such as General Data, Defaults, Notification settings and Company information needed for any campaign.
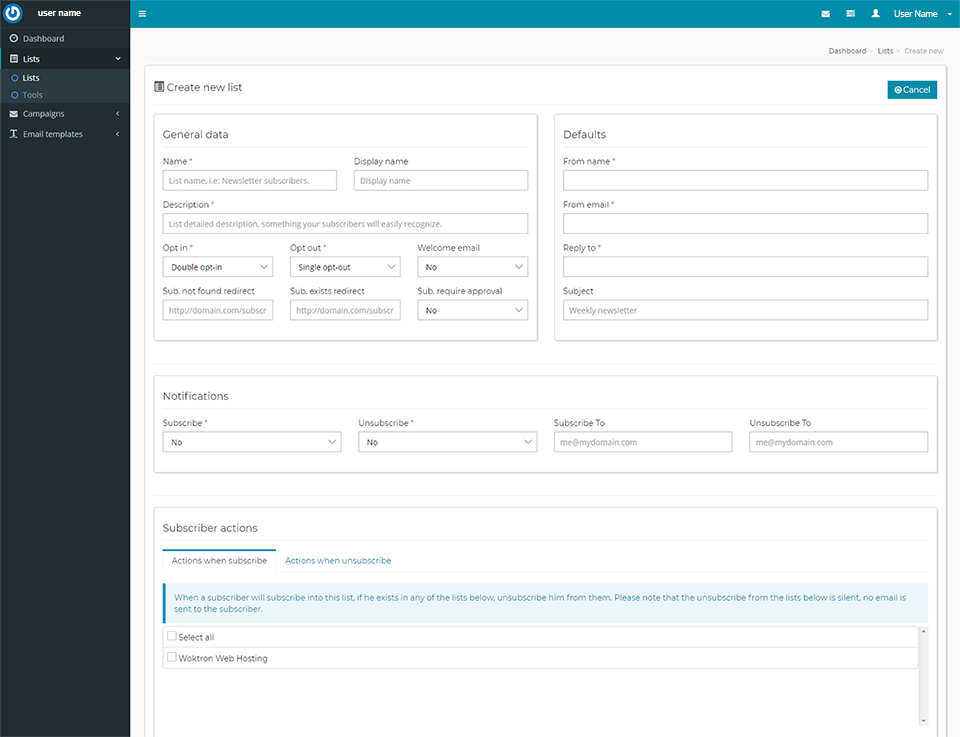
General Data – Name of the list and your display name of the list if you want it different. A summary description of your list. Contact defaults would be those set in your Account Settings. If you wish to change these for a certain list, you would do so here. Opt In or Opt Out type, either single or double. For example, a double opt-in is when a subscriber signs up on your website (first opt-in) and then receives an email to confirm the registration. A single opt-in or opt-out is when someone clicks to register (or unregister) and is immediately opted in or out without receiving an email that must be confirmed.
Notifications – Whether you wish to receive email notifications of each opt-in or opt-out. Keep in mind that you can login to your Dashboard to see the opt-ins and opt-outs.
Company Details – Defaults would be those in your Account Settings. As in the Contact information in the General Data above, the Company Details default to your Company Account Settings. If you wish to change these for a certain list, you would do so here.
Lists Page
Once you have created your list, it will appear in the list window, with the name of the list, display name if you gave it one, and there will be 4 icon links to the right of the list.

The 4 icons on the right are: Overview, Copy, Update and Delete. Copy and Delete are self-explanatory for the list. The Update icon is to edit any criteria you originally inputted.
The Overview icon, the first one, is of most interest here as it is has some powerful features over time you will make more use of. It is noteworthy here to clarify even though it is implied, the ‘Overview boxes’ and ‘Information headers’ that appear from the Overview icon are for that list only! Each list will have their own Overview, Copy, Update and Delete icons.
List Overview
Once you click on the Overview icon, the List Overview will appear. You will, by applying your time, realize this area has extremely powerful features for your marketing development:
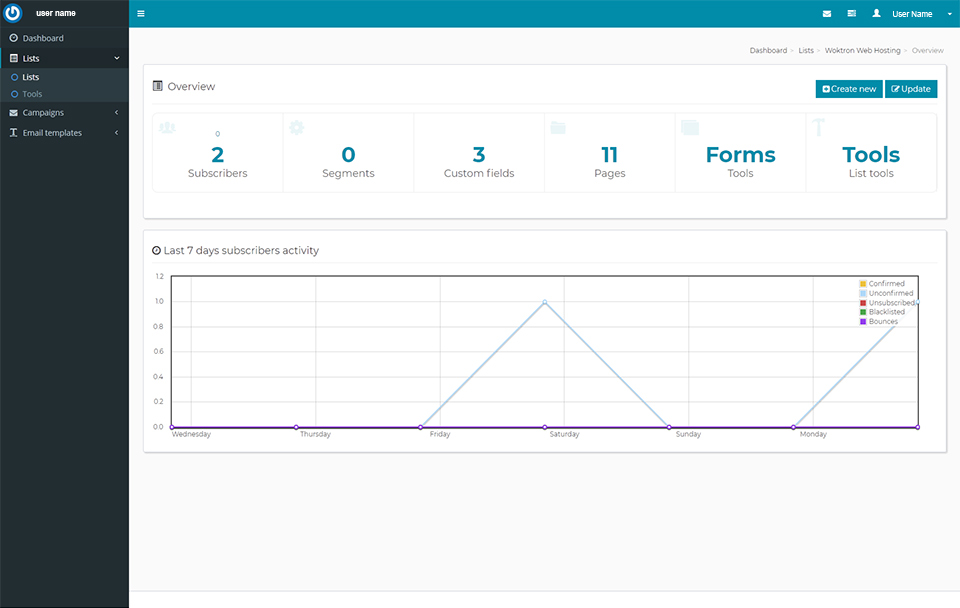
Subscribers Box
You can manage your existing subscribers (create/update/remove) and also you can adjust your list depending on your subscribers. For example you can add new custom fields or remove existing.
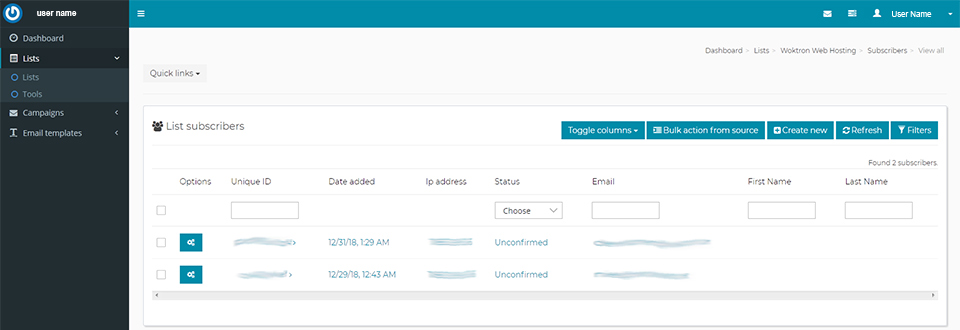
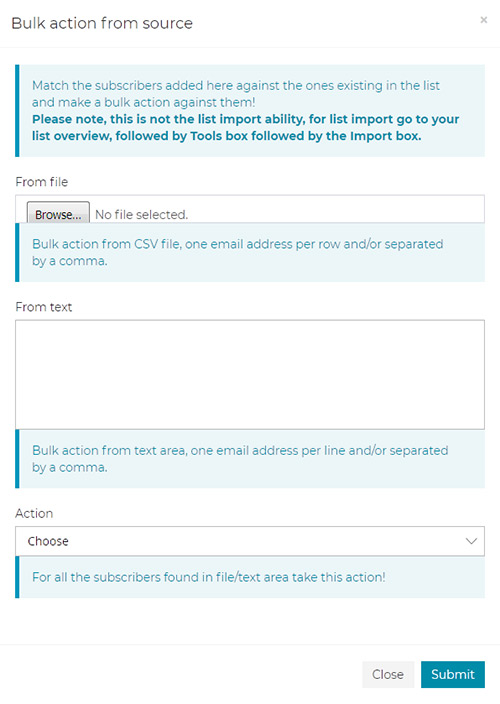
The second icon on the upper right, Bulk Action from Source is one of the most powerful features. Allowing you to be able to match subscribers added here against the ones existing in the list and make a bulk action against them! It will allow you to make one of the following actions – Subscribe, Unsubscribe or Delete. Please note, this is not the list import ability, for list import go to your list overview, followed by Tools box followed by the Import box.
Segmentation Box
You can segment your list with various criteria based on your custom list fields and on a high number of operators. Segmentation will help you target a specific type of users when sending campaigns.
Custom Fields box
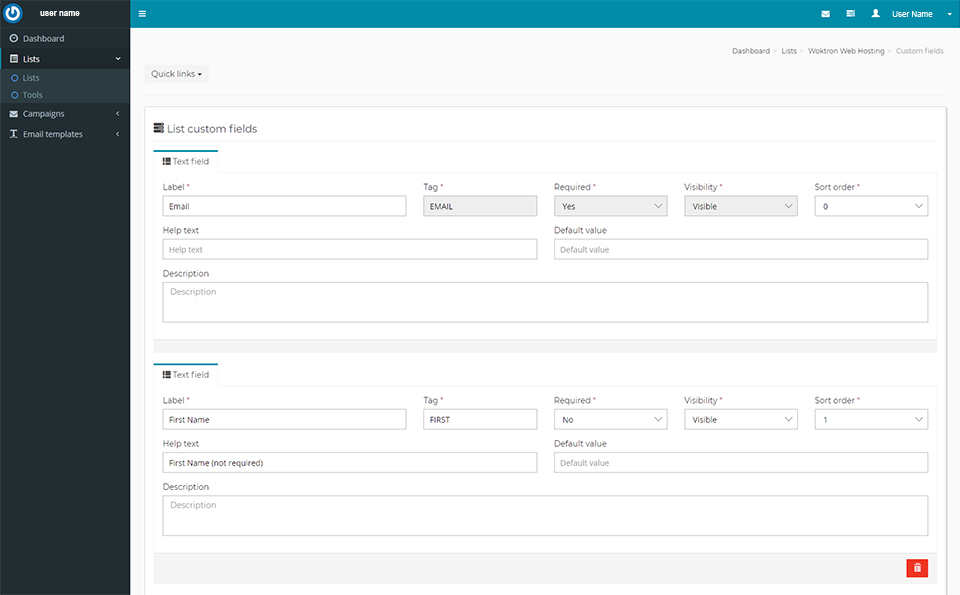
are for your website and visitor subscriber areas. You have the ability to create and customize forms and add these to your website for your site visitors to subscribe or unsubscribe. You will not need much web building knowledge to apply these areas.
Below is the Custom Fields page. You can create and customize the register/subscribe fields for your website pages where visitors can fill out and they will be added to your list. You can make multiple lists for not only contact type, i.e. Broker, Agent, etc., but for different products or services. For example, if you have clients interested in Real Estate and Yachts, you can have them subscribe or unsubscribe to one, the other, or both!
Pages box
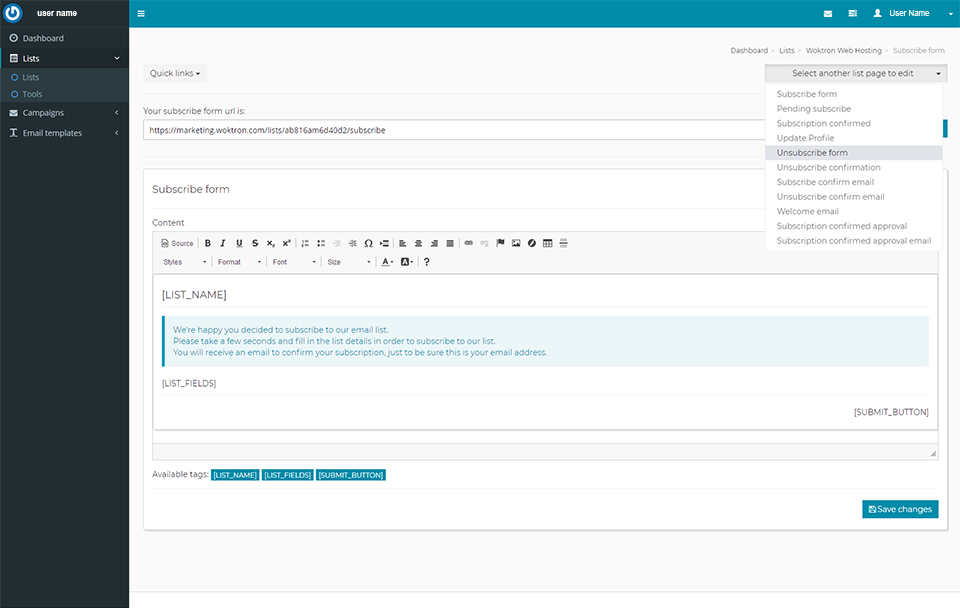
Below is the Pages page and previews the first page of the 8 pre-built pages you can use for your website.
The pre-built pages are:
- Subscribe form
- Pending subscribe
- Subscription confirmed
- Update profile
- Unsubscribe form
- Unsubscribe confirmation
- Subscribe confirm email
- Unsubscribe confirm email
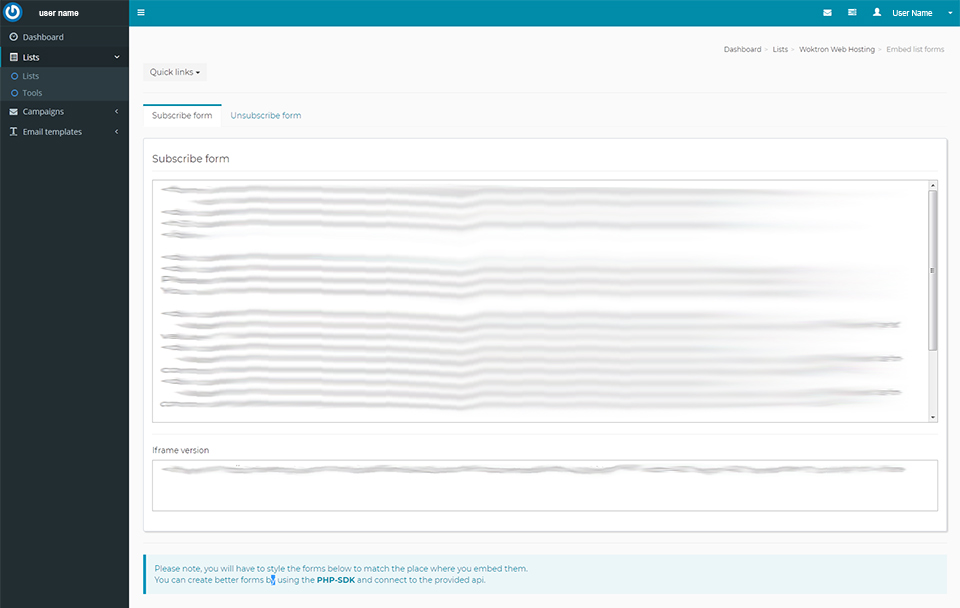
Forms Box
The shortcodes to add to your website in order to display the subscription form
Tools Box
Is used to import, export and copy your list/subscribers. CSV and Text files will be most applicable to you, while the database box is for more advanced users that do have their own MySQL databases.
Clicking on the Tools box brings you to the options to Import, Export or Copy a list:

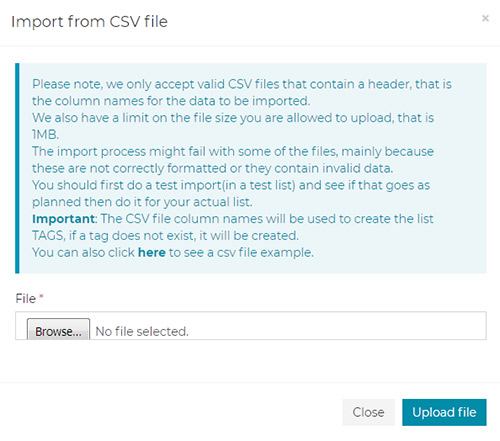
Clicking on the Import box brings up a window that allows for the importation of subscriber lists in the following formats:
- .csv import
- text import
- Database SQL import
NOTE: Excel documents may be saved in CSV format. The image below displays a link for a CSV file example.
Clicking on the Export box brings up a window to choose the Subscriber list you wish to export. Simply choose a list, click on export and save it to a location on your computer.

LISTS > TOOLS MENU
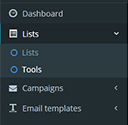
Click on Lists > Tools menu and two boxes appear:
- Sync (Subscribers)
- Split (Lists)

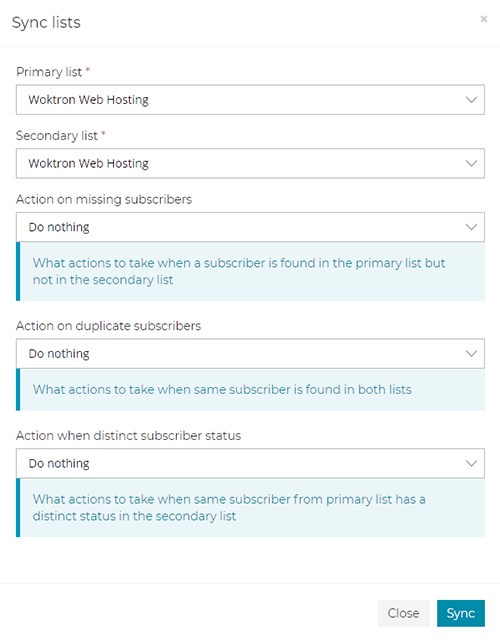
Sync Subscribers box
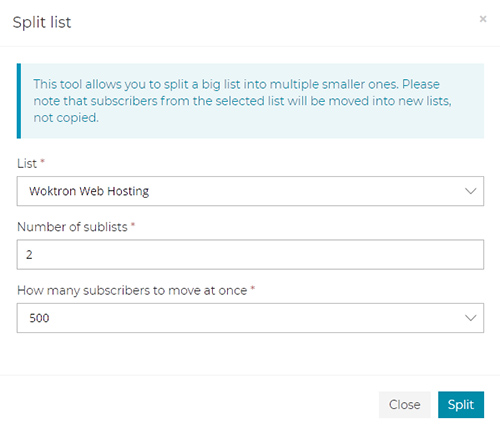
Split List box
